


This DIY home decoration is super easy to make and super cheap!
You can craft this cheerful-looking thing on a budget!
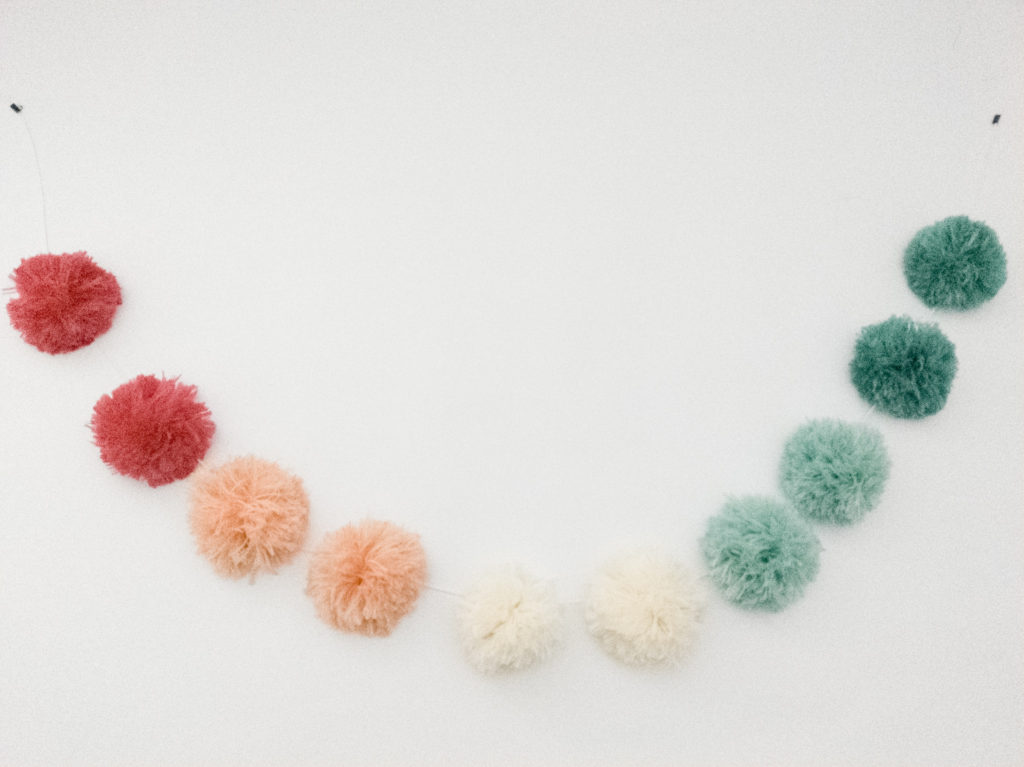
When you want a home decoration that is budget-friendly and look amazing, you can craft it yourself!
You can make simple DIY project for your home.
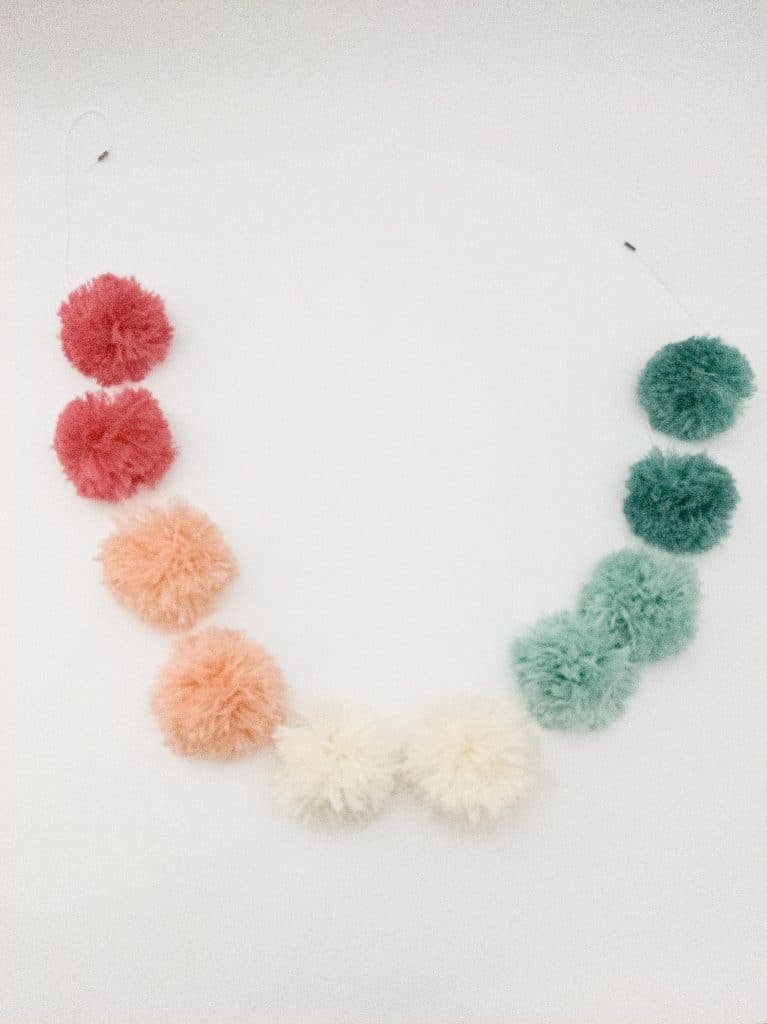
Just like this pom-pom garland.
You can use this cheerful-looking thing to style up your home!
If you want something more cheerful, you can craft 5 or 10 pom pom garlands and assemble them as beautiful scenery on your wall.
Now, how to make this pom-pom garland?
SUPPLIES:
various color of yarns
MATERIALS:
scissor and tape
HOW TO MAKE POM POM
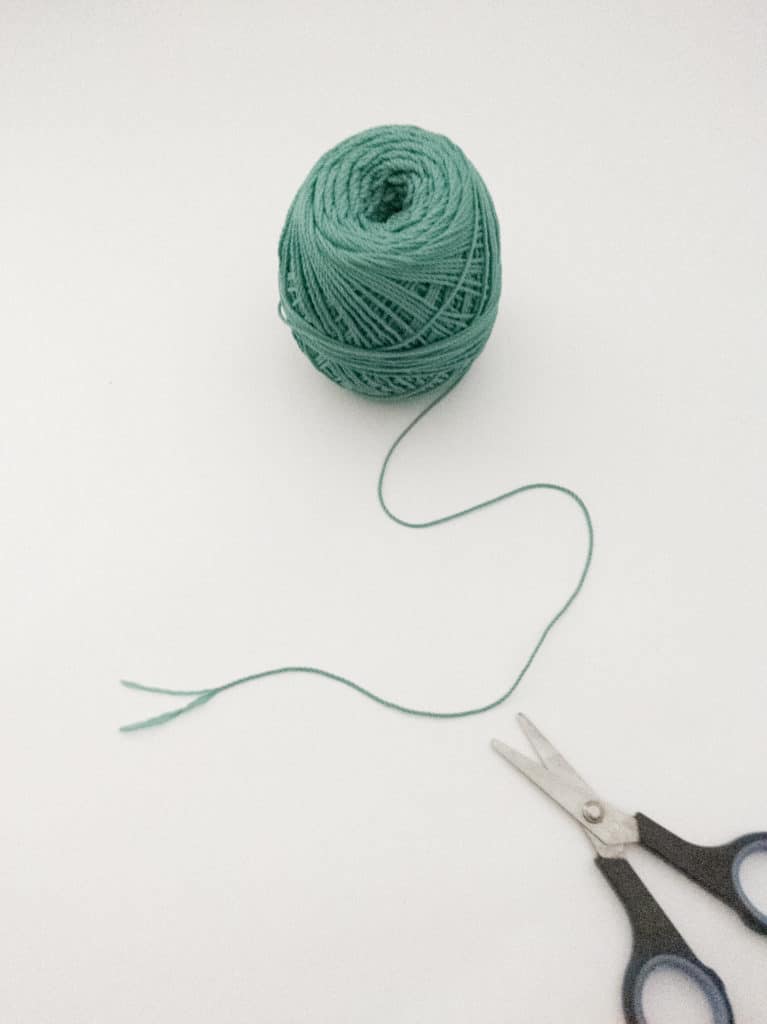
Step 1: prepare the yarn and scissor
You can choose as many as color you want.
I have limited number of yarns at home so I only use several colors.
Make sure your scissor is really sharp to make cutting easier.
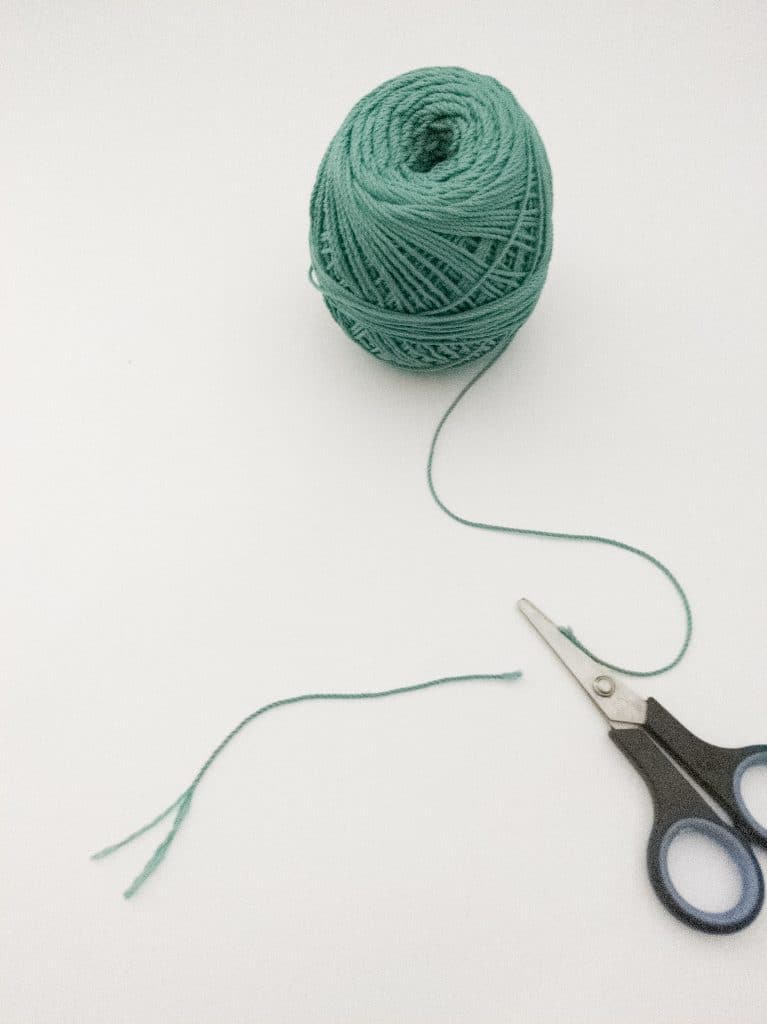
Step 2: Cut the yarn in a short length.
Set it aside.
This short yarn is prepared for step 6..
Why should we cut it now?
To make life easier later 🙂
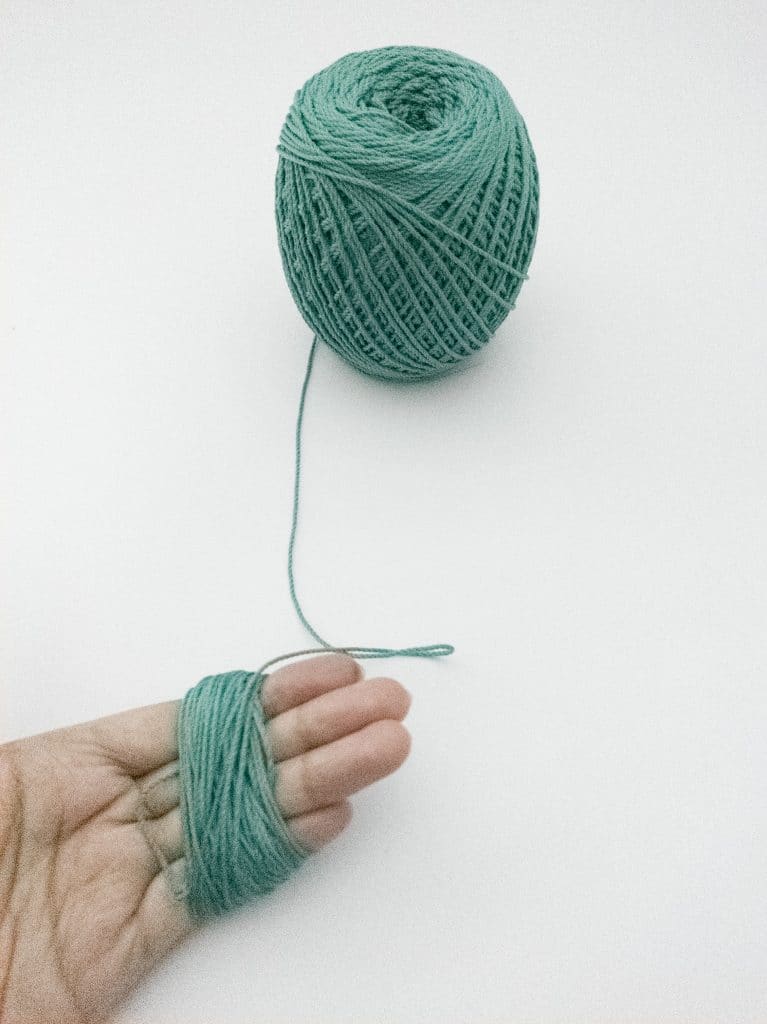
Step 3: Pull the same color of yarn and wrap it around your fingers.
How many fingers should I use? 2 or 3 or 4?
It depends on how big you want your pom pom be.
If you want a small pom pom, you can use only 2 fingers.
If you use 4 fingers you can produce bigger pom pom.
How many loops should I make around my fingers?
It depends on how dense you want your pom pom be.
I made around 70-80 loops per pom pom using 4 fingers.
Now if you want denser pom pom, you can either make smaller loops (use less fingers) or make more loops (around 100).
CAUTION: When you wrap your pom pom around your fingers..you probably would feel “stiffness” of your fingers especially in the 70th loop. This is because wrapping the yarns multiple times can make the blood flow blocked/stopped a little.
My recommendation: do the wrapping really quickly, don’t let it sit too long around your fingers.
Or you can also use pom pom makers (I don’t have one so I don’t use it.)
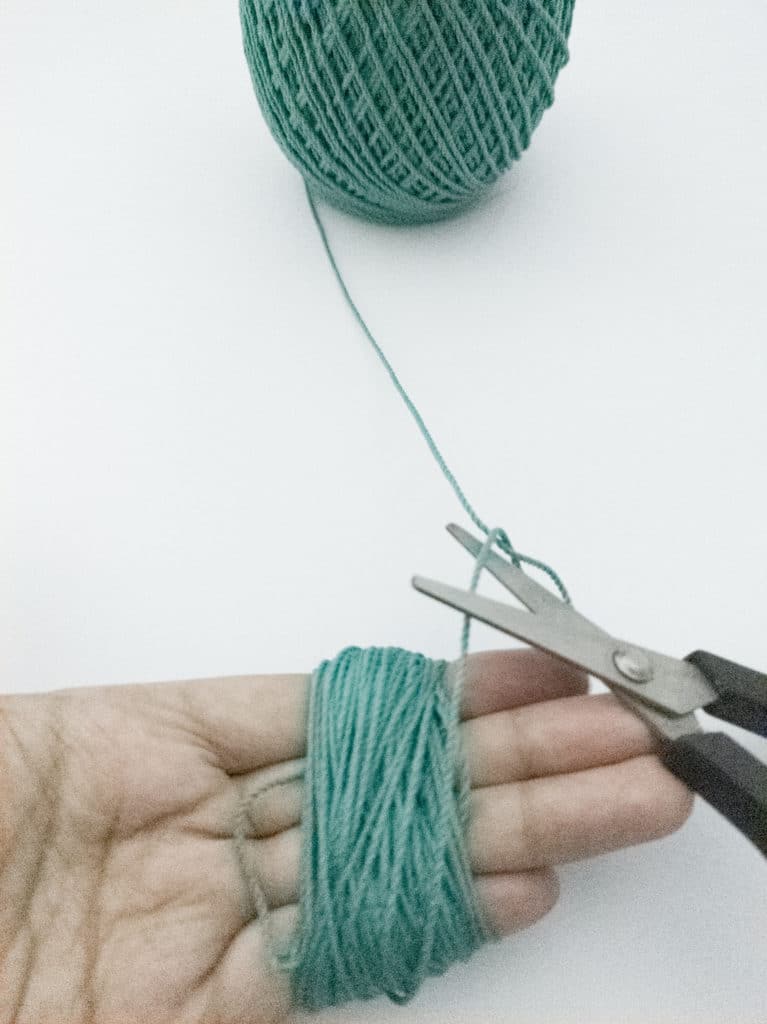
Step 4: After quickly wrapping the yarns around your finger, cut the yarn.
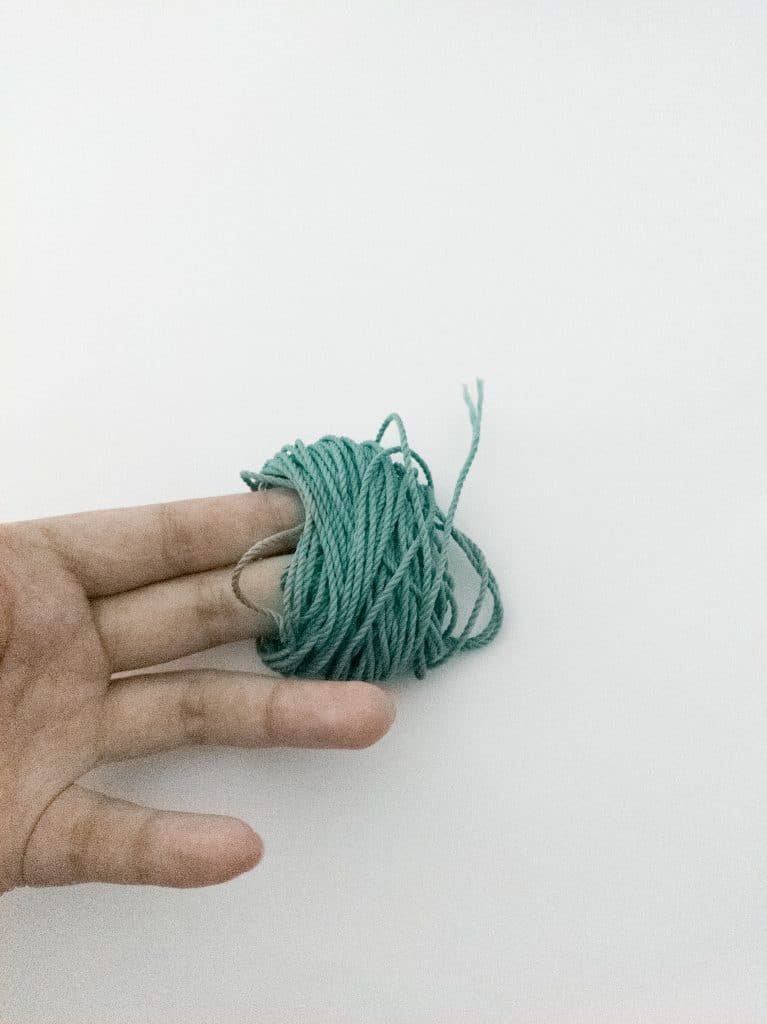
Step 5: Let the bundle of yarn leave your fingers.
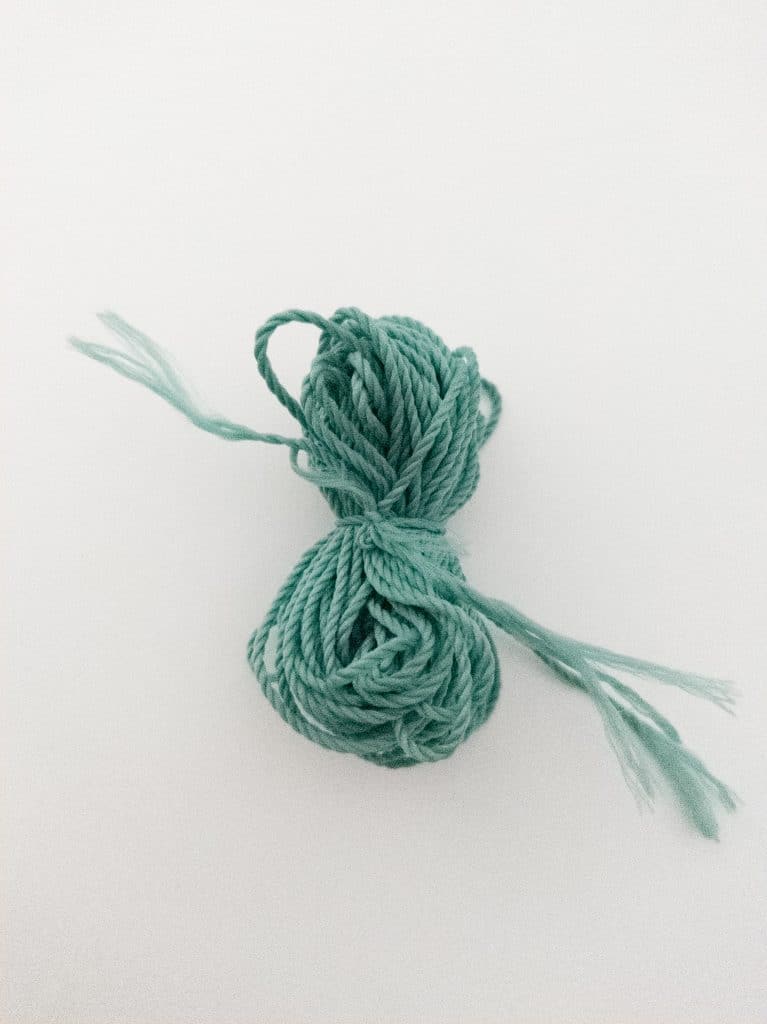
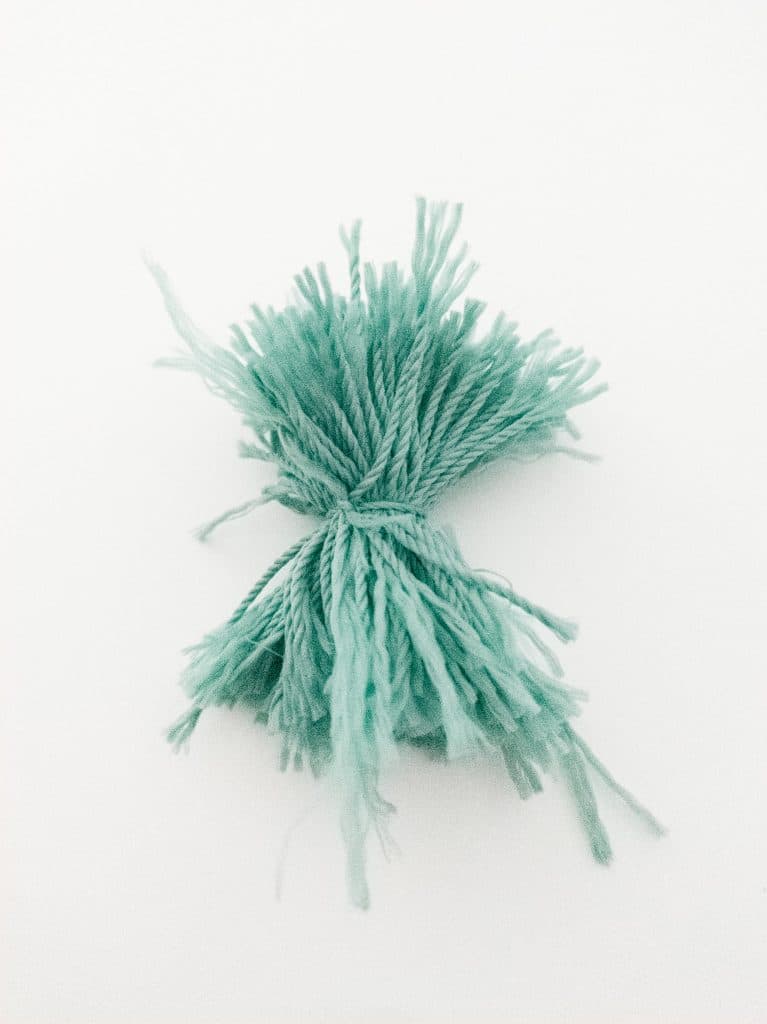
Step 6: use the “short yarn” we’ve cut before to tie the bundle.
Tie it really well to prevent the yarns from falling apart.
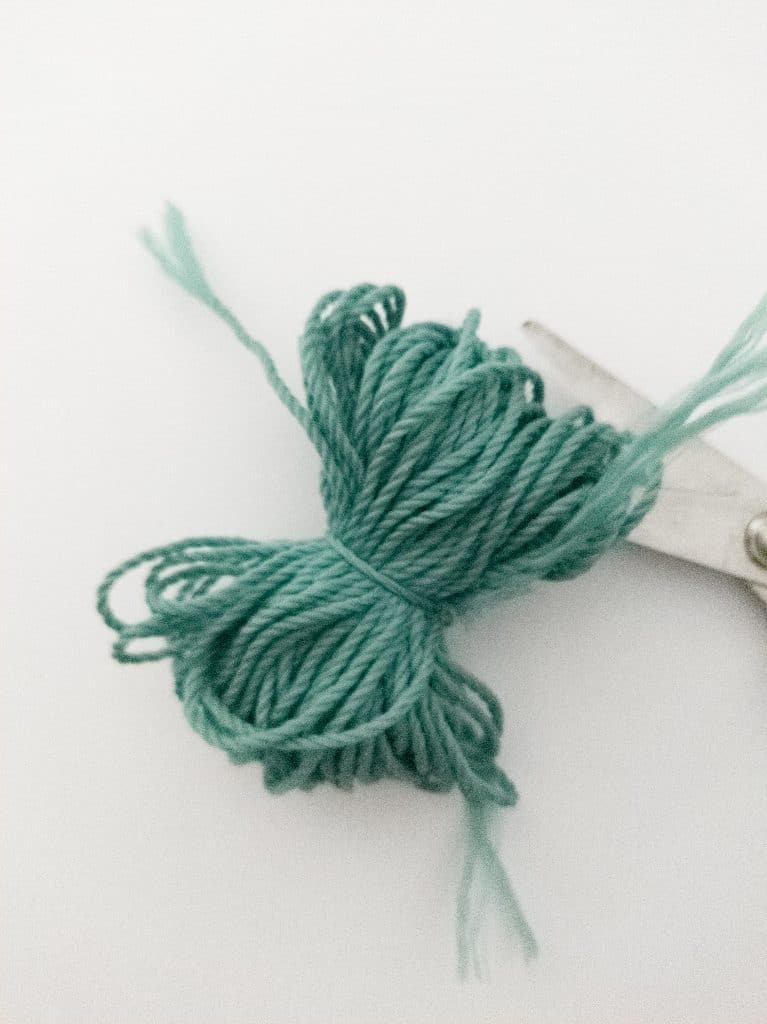
Step 7: Cut the loops. Both sides.
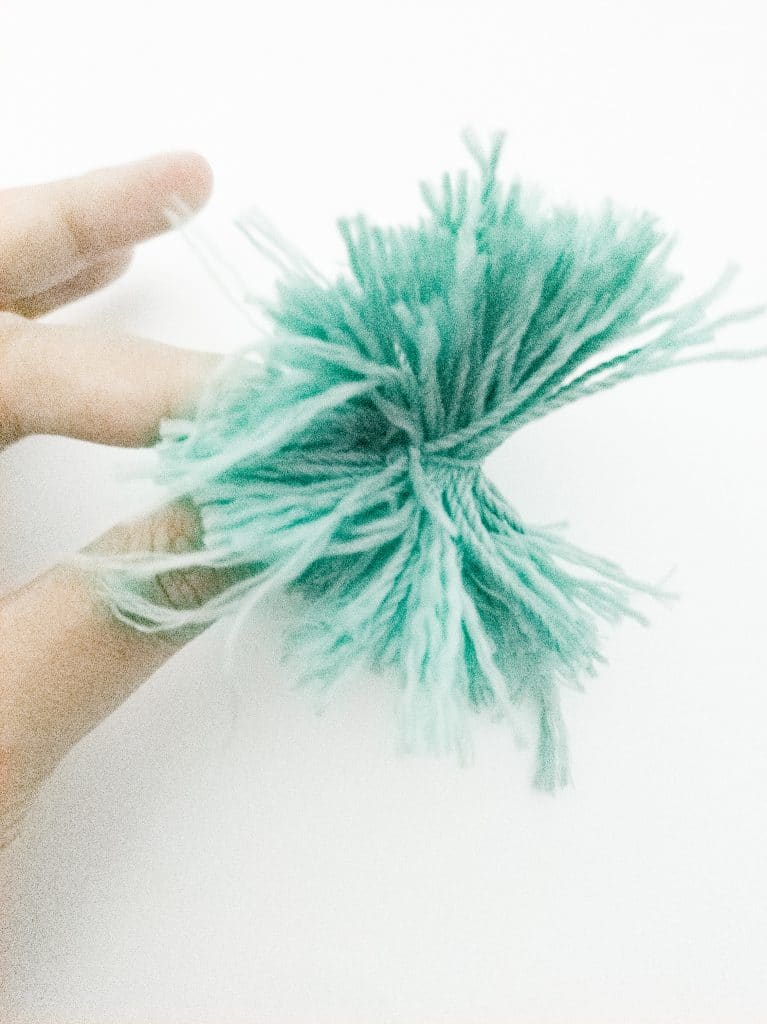
Step 8: Bring them together.
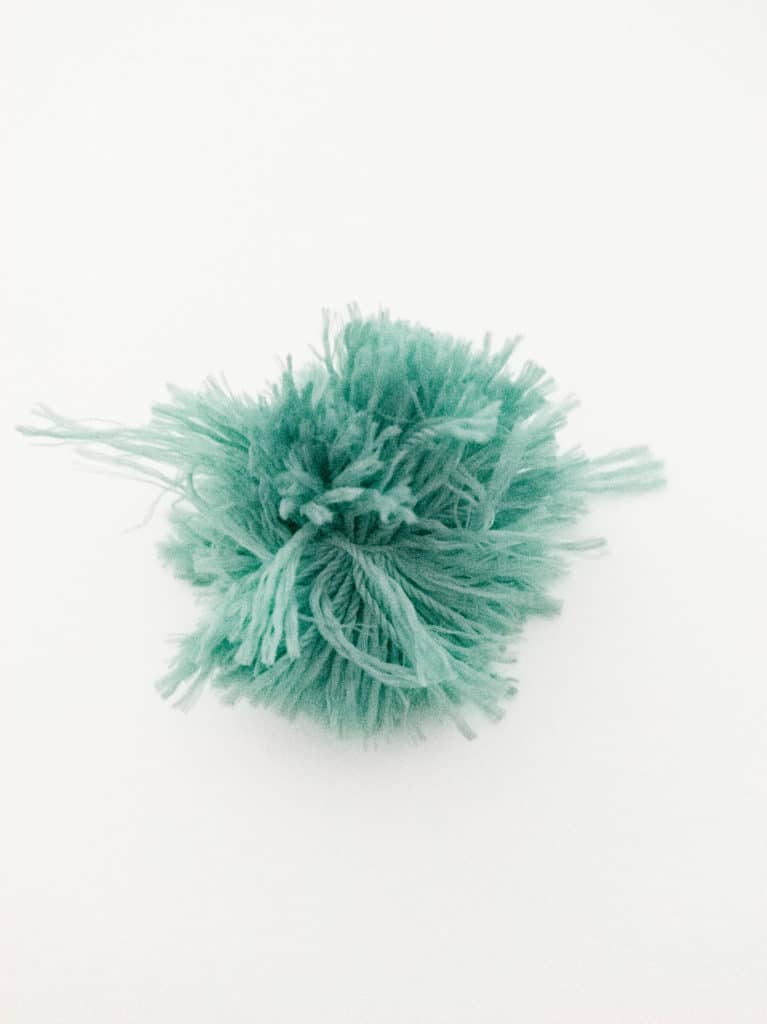
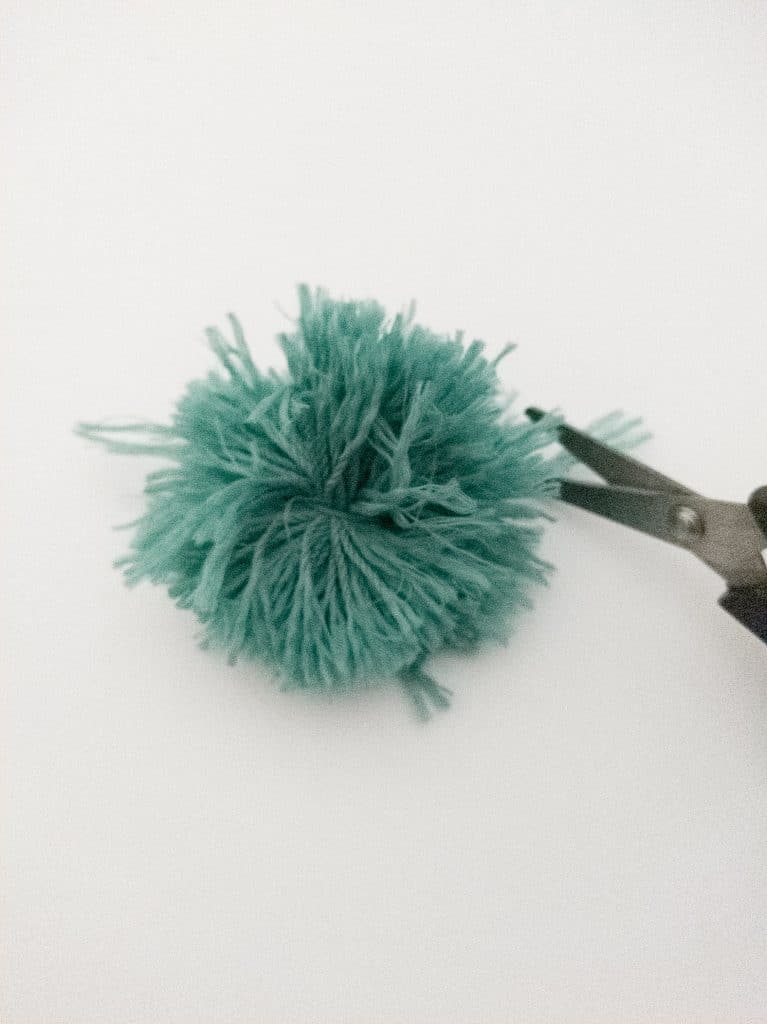
Step 9: trip the messy fluffiness using scissor.
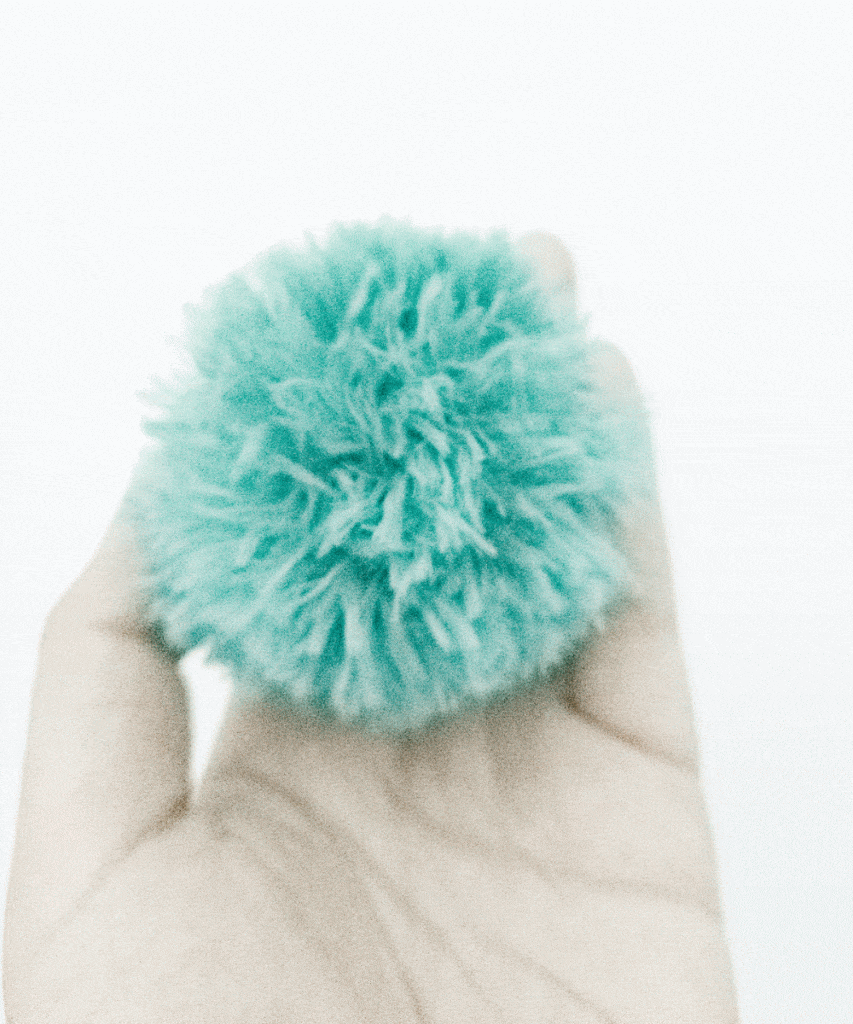
You made it to this step?
GREAT!
Now repeat all those simple steps and produce more pom poms for your garland!
After that, assemble those pom poms using a long yarn.
Its super easy, right?
Do it yourself at home and give your home a new little decor for cheap!


